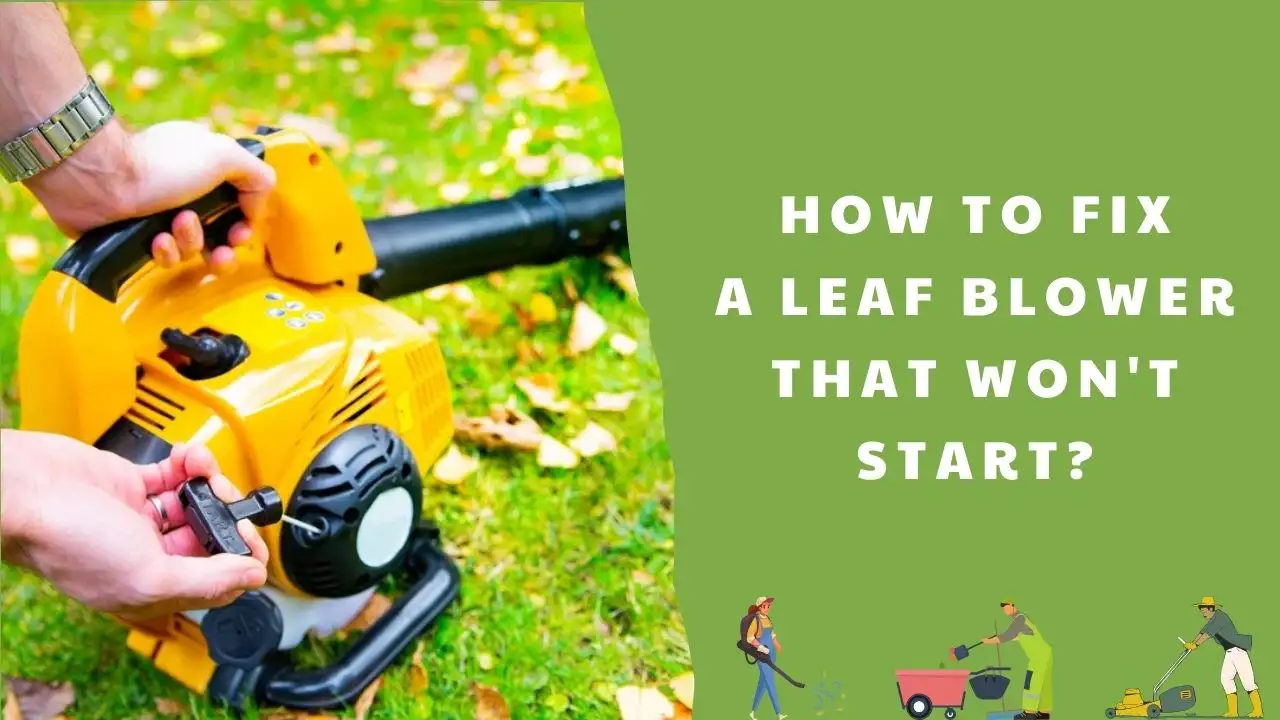
In this article, Garden Nurturer will briefly explain why a leaf blower won’t start and offer some initial tips to help you diagnose and potentially fix the issue. However, for a more comprehensive guide on troubleshooting and repairing your specific leaf blower model, we encourage you to continue reading below.
Continue reading the article below for more details on troubleshooting and fixing a leaf blower that won’t start.
Why won’t the leaf blower engine start?
Understanding the root cause of starting problems is the first step in repair. Here are the typical suspects when a leaf blower refuses to roar to life.
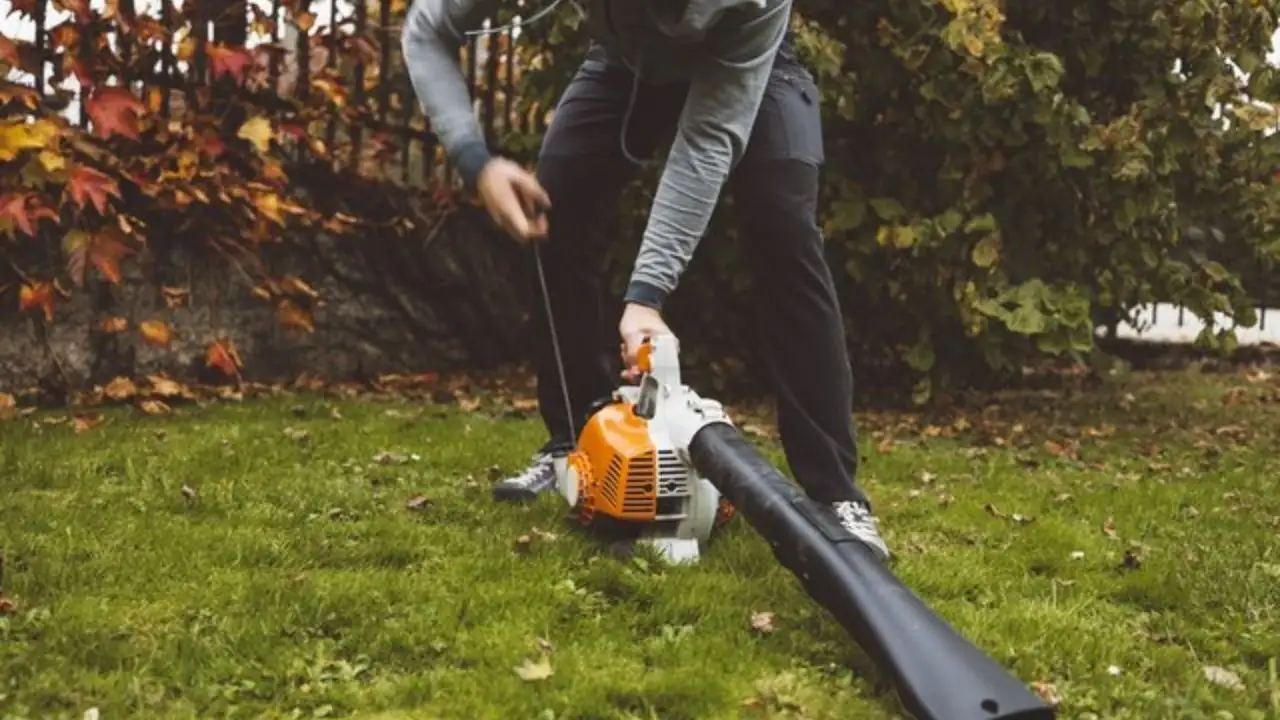
Fuel-Related Issues
Stale fuel or not enough fuel in the tank can lead to starting problems. Like any gas-powered tool, the leaf blower’s engine needs clean and sufficient fuel to operate.
Spark Plug Problems
The spark plug is an essential component in the ignition system. A dirty or faulty spark plug can prevent the engine from starting.
Air Filter Clogs
The air filter ensures that the engine receives clean air for combustion. If the air filter is clogged, the engine’s performance may suffer and not start at all.
Carburetor Troubles
The carburetor is responsible for mixing air and fuel in the correct ratio before it enters the engine. A dirty, clogged carburetor can lead to an incorrect fuel mixture, causing starting problems.
Step-by-step instructions for troubleshooting when your leaf blower is not working
When you encounter starting issues with your leaf blower, follow these steps to identify and rectify the problem.
#1. Check the Fuel
Start with the most straightforward potential problem: fuel. Ensure there’s enough clean, fresh gasoline in the tank. If the fuel is discolored or has water, it’s time to drain the tank and replace it with a new mix of fuel and oil, if applicable.
How to Check the Fuel:
- Drain the old fuel from the tank.
- Mix new fuel according to the leaf blower’s specifications.
- Fill the tank with the fresh fuel.
- Turn the choke on and attempt to start the blower.
If the leaf blower starts but dies soon after, the issue might still be fuel-related and require a more in-depth examination of the fuel lines or the carburetor.
#2. Inspect the Spark Plug
The spark plug is a small component with a big job. A dirty spark plug can be cleaned, but a damaged one must be replaced.
How to Inspect the Spark Plug:
- Please turn off the leaf blower and allow it to cool completely.
- Locate the spark plug, which is generally found near the engine’s cylinder, under a protective cover.
- Remove the spark plug and inspect the electrode and ceramic insulator for damage. They should be dry and not covered in fuel or oil.
- Clean the spark plug using a wire brush and a little elbow grease if the spark plug is dirty.
- Adjust the spark plug gap if necessary with a spark plug gap tool.
- Reinstall the spark plug, ensuring it’s securely tightened, and try to start the leaf blower.
If the leaf blower still doesn’t start, even with a clean or new spark plug, further inspection of the ignition system is required.
#3. Clean or Replace the Air Filter
A clogged air filter can prevent the engine from starting or cause it to run poorly.
How to Clean or Replace the Air Filter:
- Locate the air filter cover on your leaf blower. This is generally a flat, round, or rectangular component on the side or top of the engine.
- Remove the air filter cover and take out the air filter.
- Inspect the air filter for dirt, tears, or damage. If it’s dirty, gently clean it with soapy water, allow it to dry completely, and lightly oil it before reinstallation.
- If the air filter is damaged beyond repair, replace it with a new one according to your manufacturer’s recommendations.
- Reinstall the air filter, cover, and any screws that were removed to access it.
- Try starting the leaf blower with the choke on.
If these steps don’t solve the issue, the air filter may not be the problem, and additional steps are required.
#4. Examine the Carburetor
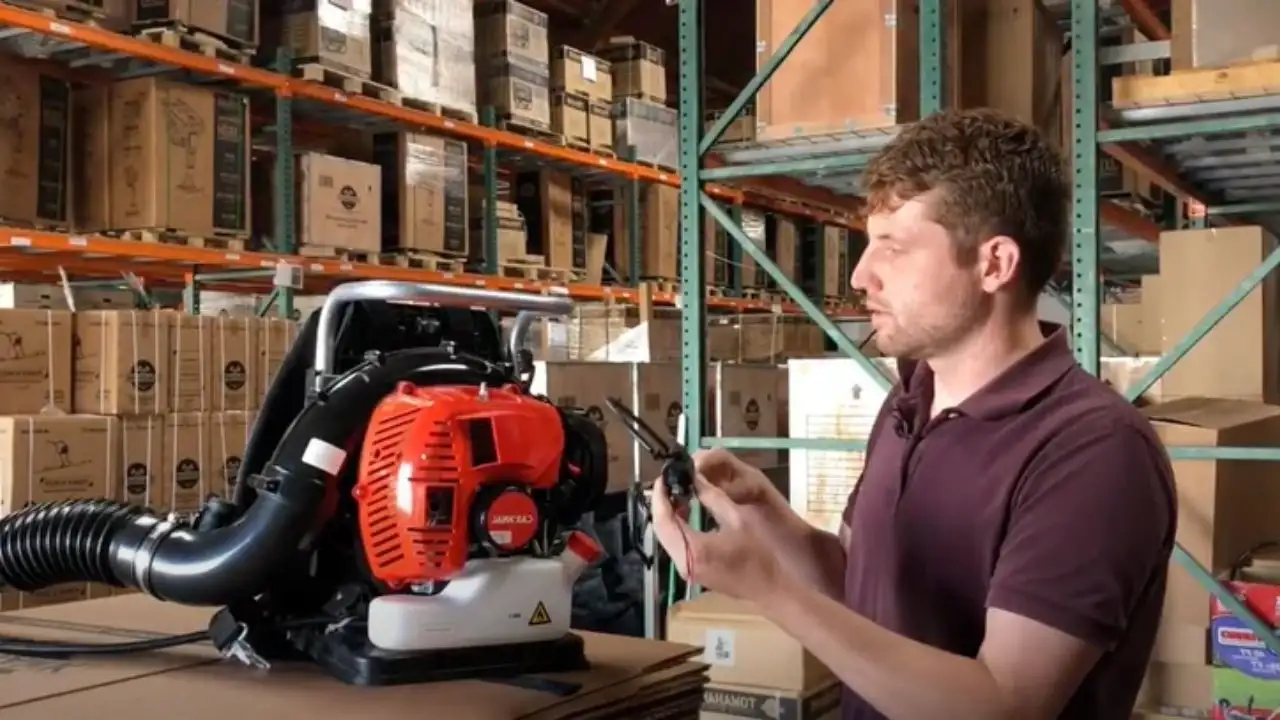
The carburetor is integral to starting the engine. When the carburetor is dirty or clogged, it prevents the engine from receiving the correct fuel-air mixture needed for combustion.
How to Examine the Carburetor:
- Please turn off the leaf blower and let it cool down.
- Locate the carburetor – it’s usually under a cover you can unscrew.
- Investigate whether any fuel leaks around the carburetor, as this could be a sign of damage or a clog.
- If no fuel leaks, remove the carburetor and clean it thoroughly using a carburetor cleaner and compressed air.
- Pay attention to the gasket – it should also be in good condition. If not, replace it.
- Reassemble the carburetor and check for any other visible damage, such as cracks or breaks.
- Reinstall the carburetor, and try starting the leaf blower.
If the leaf blower still doesn’t start, there may be deeper issues with the carburetor, such as damaged jets, which a professional should inspect.
#5. Test the Ignition System
The ignition system may be the culprit if all previous steps check out. This system consists of the spark plug, ignition coil, and flywheel. It’s a complex system that needs all components to be in good condition to function correctly.
How to Test the Ignition System:
- Check the ignition coil for cracks or other visible damage. If found, replace it.
- Use an ignition tester to verify you can see a spark when you start the leaf blower. If not, the ignition coil or the flywheel may be the issue.
- You can test the flywheel by removing the shroud and inspecting it for damage. If it has a sheared key, it won’t match with the crankshaft and will need to be replaced.
- Reinstall the spark plug and attempt to start the leaf blower while observing the spark plug gap for a visible spark.
If there is no spark, the ignition system is the problem, and you may need to engage a professional to diagnose further and fix the issue.
Tips for Preventing Starting Problems
While knowing how to address starting problems is essential, preventing them is even better. Two critical steps can keep your leaf blower running smoothly.
Regular Maintenance
Maintaining your leaf blower with regular service is the best prevention for starting issues. This can include:
- Annual tune-ups
- Periodic inspections
- Consistent use of high-quality fuel
- Replacing worn-out or degraded parts
Proper Storage
Improper storage can lead to starting issues down the road. Always:
- Run the leaf blower until it’s out of fuel before storing it for long periods.
- Clean your leaf blower after each use to prevent debris from clogging the system.
- Use a fuel stabilizer if you expect the leaf blower to be stored with fuel for an extended time.
Conclusion
A leaf blower that won’t start is a common headache and can often be remedied at home. Following Garden Nurturer step-by-step guide to diagnosing and repairing the most common starting problems, you can get your leaf blower again. Remember, prevention is the best cure for early issues. Regular maintenance and proper storage can go a long way in ensuring your leaf blower starts reliably.

