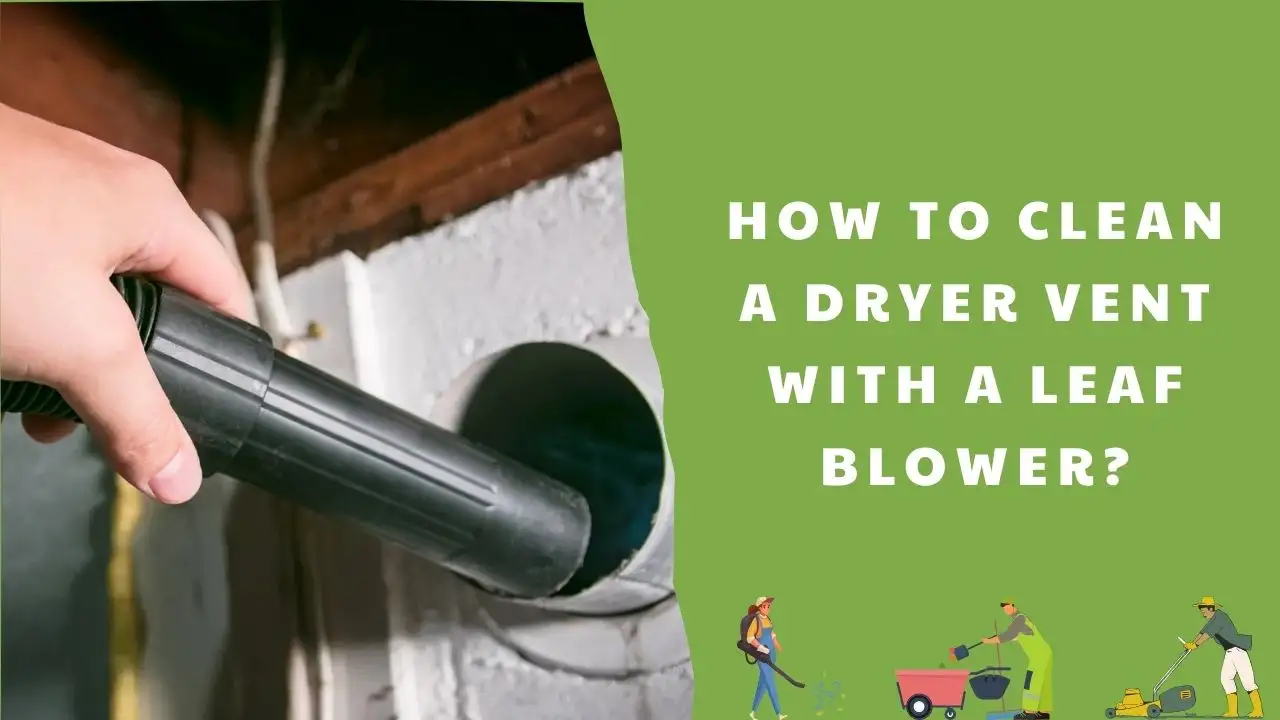
However, it is important to follow proper steps and safety precautions to ensure a successful cleaning process. In this article, Garden Nurturer will outline the steps and safety tips for how to clean a dryer vent with a leaf blower? So keep reading for a comprehensive guide on how to do it correctly.
Why a Leaf Blower is the Ideal Solution
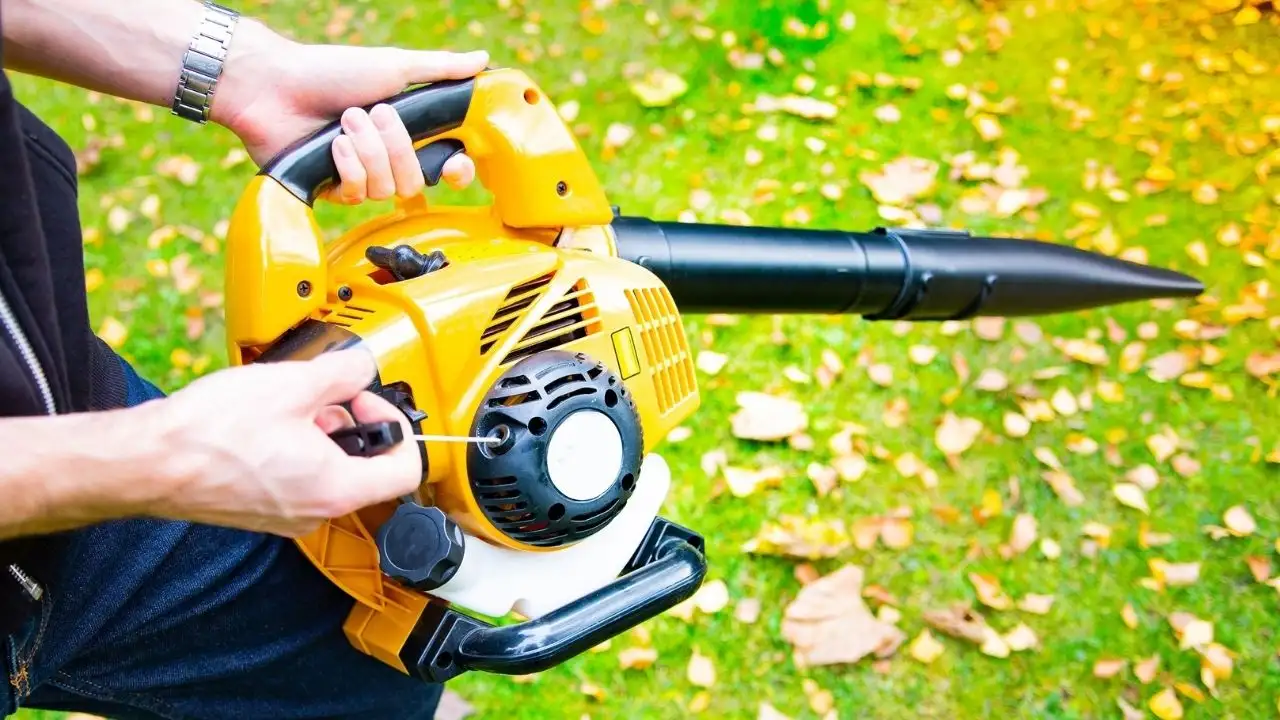
At first thought, “Why a leaf blower?” The answer lies in its powerful, high-velocity airstream. Traditional dryer vent cleaning kits often include brushes and rods, which can sometimes be less effective at dislodging the most stubborn lint and debris. The leaf blower, on the other hand, can push through the vent line with force that’s both swift and broad, clearing out virtually any obstruction. It provides a cost-effective and effortless alternative to professional vent cleaning services.
Cleaning the Dryer Vent with a Leaf Blower
With the vent system and your surroundings adequately prepared, it’s time to move on to the cleaning process.
Step 1: Access the Vent Opening
Start by locating the exterior vent opening. Remove the vent cover to gain access to the interior of the vent line. This may require using your screwdriver or socket set to loosen screws or nuts holding the vent cover in place.
Sometimes, the vent cover has louvers that direct air out and nothing back in. In such cases, you might need to use needle-nose pliers to remove any screws and then pull the louvers off.
Step 2: Clear Out Obvious Blockages
Look for any immediate obstructions you can remove by hand. These can include animals’ nests, leaves, or any items the family might have accidentally dropped into the vent.
Step 3: Prepare the Leaf Blower
Connect the leaf blower to a power source outside and insert the nozzle attachment. On electric leaf blowers, an extension cord with sufficient reach is a must. Ensure the leaf blower has enough power to reach the full length of your dryer’s vent system.
Step 4: Blow Out the Vent
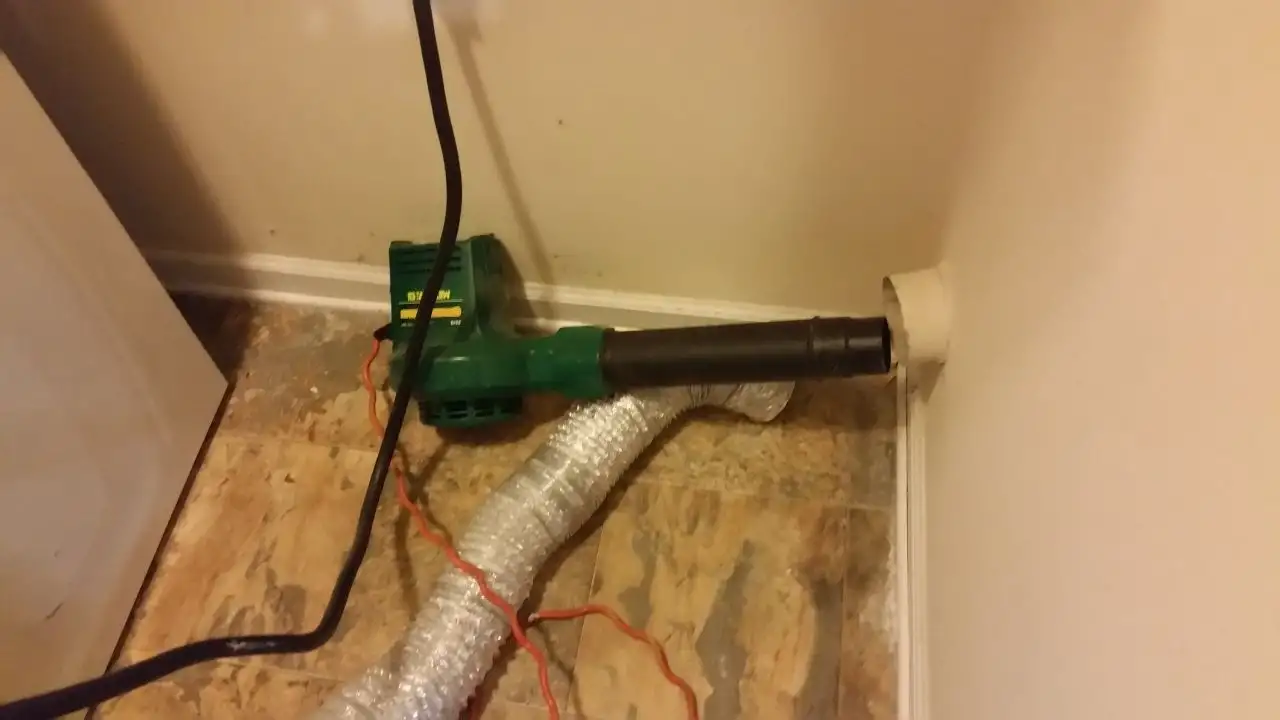
With the leaf blower ready, return to the interior vent opening and insert the nozzle. Hold the blower steady to prevent it from flying out with the air pressure and have a strong grip. Turn the leaf blower on at the lowest setting and gradually increase as you work.
The high-velocity air should push the lint and debris out of the system and toward the exterior vent. Stay on top of the process to prevent the lint from being pushed back into the dryer. Be mindful of your footing and surroundings—sudden movements near the edge of an outdoor vent can be dangerous, especially if high above the ground.
Step 5: Inspect and Repeat
Once you believe you’ve removed most of the clogs, inspect the interior of the vent system. Shine a light down the duct to see if any lint is still present. Repeat the blow-out process with the leaf blower if necessary until you see minimal to no debris inside.
Step 6: Clean the Area
Before reassembling the vent system, use a vacuum cleaner with a long hose attachment to clean out the interior of the dryer and surrounding areas where lint may have settled. This includes the lint trap cavity, the blower housing, and any exposed portions of the vent line.
Remember that the fine particles of lint can be harmful if inhaled, so take precautions by wearing a mask or respirator during this process.
Step 7: Reassemble the Vent System
Once everything is clean, reattach the vent cover on the exterior. Make sure it is securely fastened to prevent leaks. Reconnect the dryer to the power source and test the dryer to ensure it is working correctly.
Perform at least one full cycle to warm the dryer, producing air movement that helps blow any remaining dust or debris out of the system.
Additional Tips for Dryer Vent Maintenance
Regular maintenance is key to keeping your dryer running efficiently and safely:
- At least once a year, disconnect and clean the entire vent system.
- If your vent system has a large amount of lint accumulation, it’s a sign that you need to clean it more frequently.
- Consider installing a vent cap with a hinged, on-way, swivel, or animal-proof design that stays shut when the dryer is not in use.
- Clean behind and underneath your dryer regularly to prevent the build-up of lint that can clog the vent system.
- Schedule professional inspections if you’re unsure about the cleanliness of your vent or experience any performance issues with your dryer.
By following these tips and taking proactive steps towards dryer vent maintenance, you can enjoy safer and more efficient use of your dryer while mitigating the risks of fire hazards.
How do I know if my dryer vent is clogged?
Recognizing the signs of a clogged dryer vent is important for maintaining your dryer’s efficiency and preventing potential fire hazards. Here are key indicators that your dryer vent may be clogged or obstructed:
Extended Drying Times: If it’s taking longer than usual to dry clothes, it could be a sign that the vent is not expelling hot air efficiently.
Dryer Feels Overheated: After a cycle, if the dryer itself feels unusually hot, it may be working harder than normal due to a clogged vent.
Burning Smell: A burning smell when the dryer is running can be a sign of lint buildup in the vent or lint trap. Lint is highly flammable, so this is a critical sign to act upon immediately.
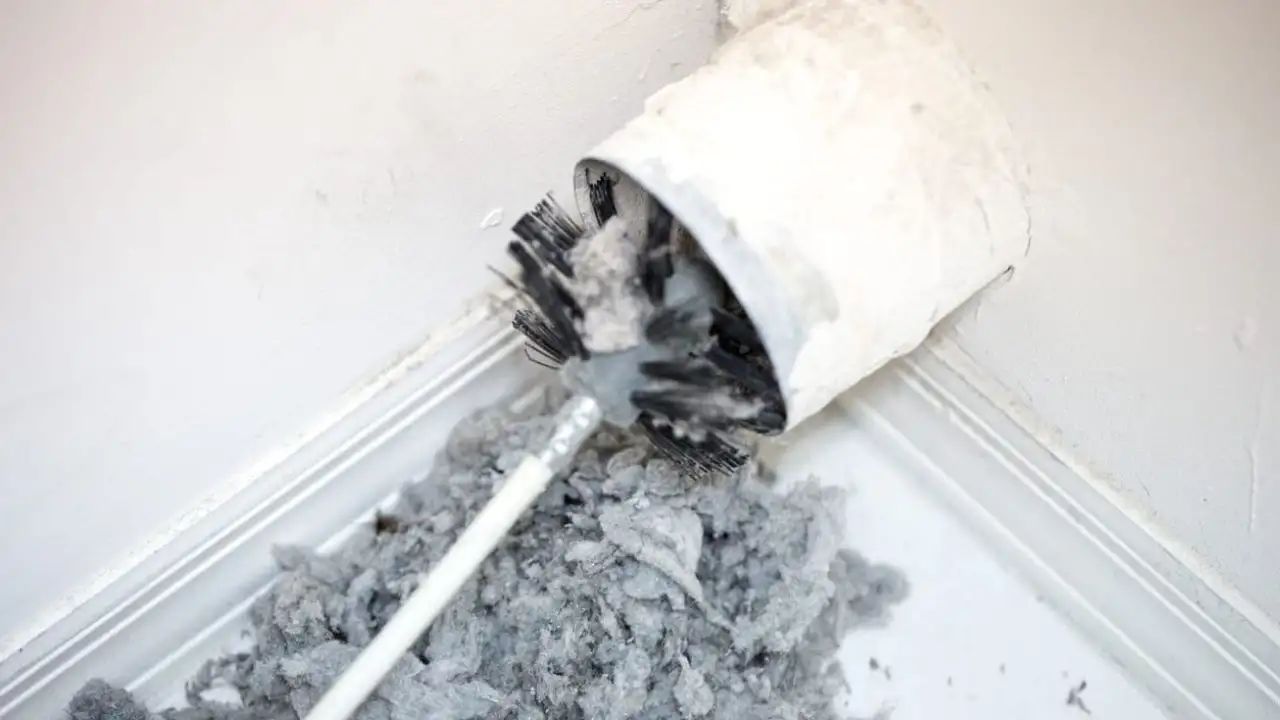
Visible Lint or Debris in the Vent Opening: If you can see lint or debris in the duct or around the outside vent opening, it’s a clear indication of a blockage.
No Lint on the Lint Trap: An empty lint trap after a drying cycle can indicate that lint is getting stuck in the vent rather than the trap.
Excess Lint on Clothing: If clothes are coming out of the dryer with more lint than usual, it could be due to reduced airflow caused by a clogged vent.
Humid Air in Laundry Room: If the room feels more humid than usual or you notice condensation on surfaces, it could be due to exhaust air not venting properly.
Vent Hood Flap Doesn’t Open Properly: The external vent has a flap designed to open when the dryer is running. If it doesn’t open or seems stuck, this could indicate a blockage.
Warning Signals from the Dryer: Some modern dryers have sensors or lights that indicate when the vent is clogged or airflow is restricted.
Safety precautions when using a leaf blower to clean dryer vents
Using a leaf blower to clean dryer vents can be effective, but it’s essential to follow safety precautions to prevent damage to your dryer vent system and ensure your personal safety. Here are some key safety tips:
- Always make sure the dryer is unplugged before you start any maintenance work. If it’s a gas dryer, turn off the gas supply to eliminate the risk of gas leaks.
- Use safety goggles and a dust mask to protect your eyes and lungs from lint and debris that might be blown out of the vent.
- Ensure the area around the dryer and the exterior vent is clear of any items that could be damaged by flying debris or the force of air from the leaf blower.
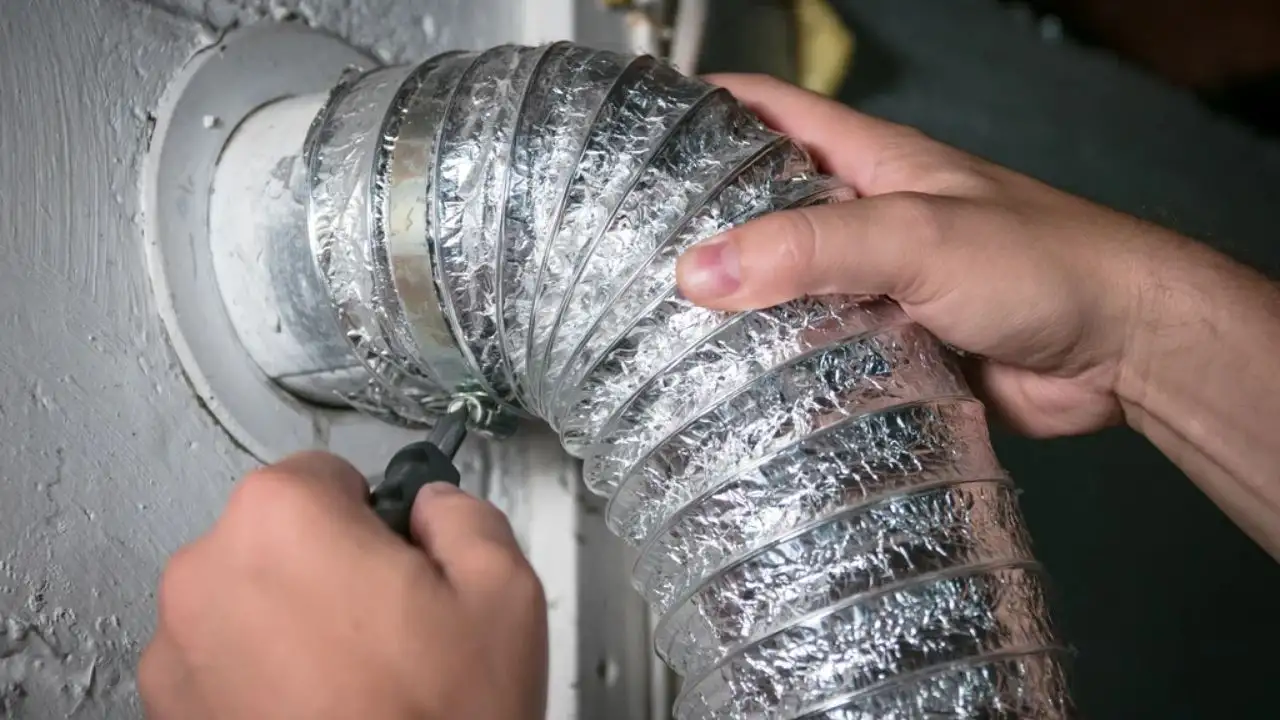
- Before using a leaf blower, verify that your vent is made of a rigid or semi-rigid material. Leaf blowers can damage flexible foil or plastic ducts.
- The nozzle of the leaf blower should fit snugly into the vent opening. If it doesn’t fit securely, the force of the air could dislodge the blower, creating a hazard.
- Use duct tape or a towel to seal the space around the leaf blower nozzle to prevent lint and debris from blowing back into the room.
- While using the leaf blower, watch the outside vent hood to ensure it opens properly and lint is being expelled. If the vent hood does not open, stop immediately, as there might be a blockage.
- Once you’re done, inspect the vent for any signs of damage or disconnection.
- Ensure that the vent is securely reattached to the dryer and the outside vent.
- After reassembling, turn on the dryer and check for proper operation.
- Do not overuse the leaf blower in the vent. A few minutes should be sufficient for most homes.
Caution:
Never ignore the risk of fire. Lint is highly flammable, and improper cleaning methods can increase the risk of a dryer fire.
If you notice any unusual behavior from your dryer after cleaning (like strange noises, smells, or vibrations), turn it off immediately and investigate further.
Conclusion
A well-maintained dryer vent is your insurance policy against dangerous buildup and unnecessary energy consumption. By understanding the impact of lackluster vent care and adopting innovative solutions like using a leaf blower, you can take control of the health of one of the hardest-working appliances in your home. .
So, apply the leaf blowing method that Garden Nurturer just shared above and take those necessary steps to have a cleaner, safer and more efficient laundry room.

